Our porch has a combination of fixed windows and panels of screen. There are 2 large windows on each of the short sides and screen on all the rest. When we bought the place, one of the panes of glass was completely missing from a lower window. This wasn’t much of an immediate concern as we hadn’t had much occasion to use the porch thus far. But with the middle of summer approaching, we thought it would be nice to be able to leave the front door open without fear of an adventurous cat leaping out the window.

These are the little metal pieces that hold the glass in place.
So we began with purchasing a new pane of glass and cutting it to size. This was done with surprisingly little frustration, unlike many of our other projects. Then it was held in place with some new glazing points. For those of you who aren’t familiar with window repair, glazing points are little metal “T” shaped pieces that are used to hold the glass in place. Without these little guys the glass would likely fall out. The pointed part gets pushed into the wood of the sash, while the “L” shaped part above the point rests flush against the glass and sash working as a kind of bracket. These are inserted every 8 inches or so around the whole sash.
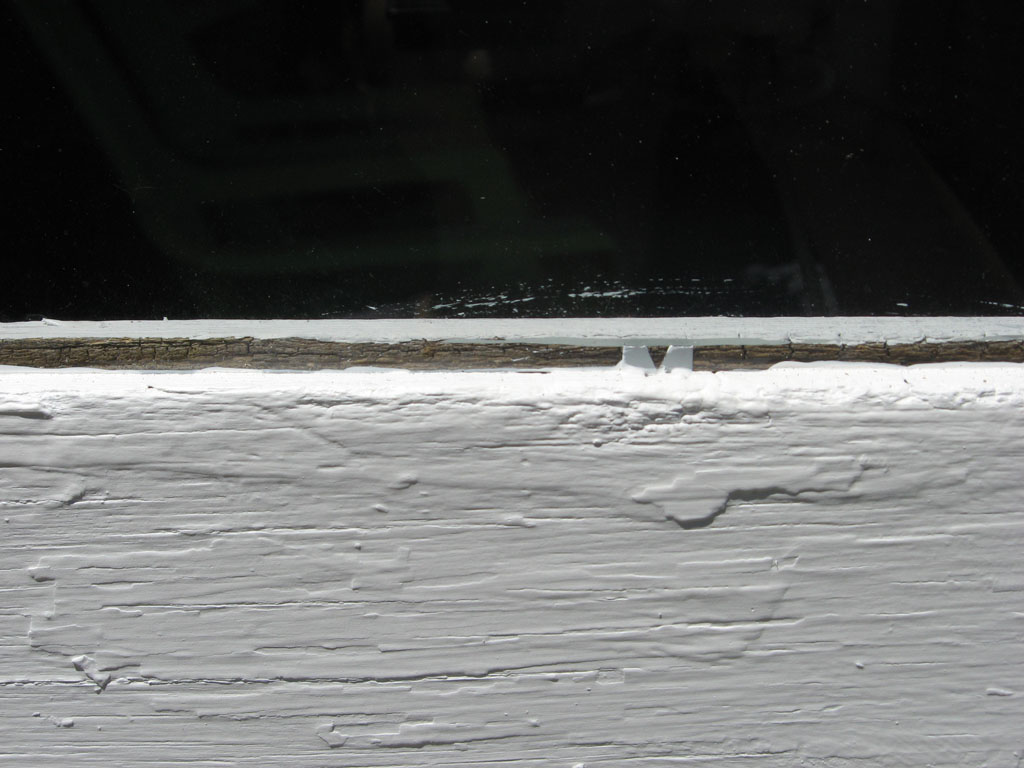
Here you can see one of the glazing points in place.
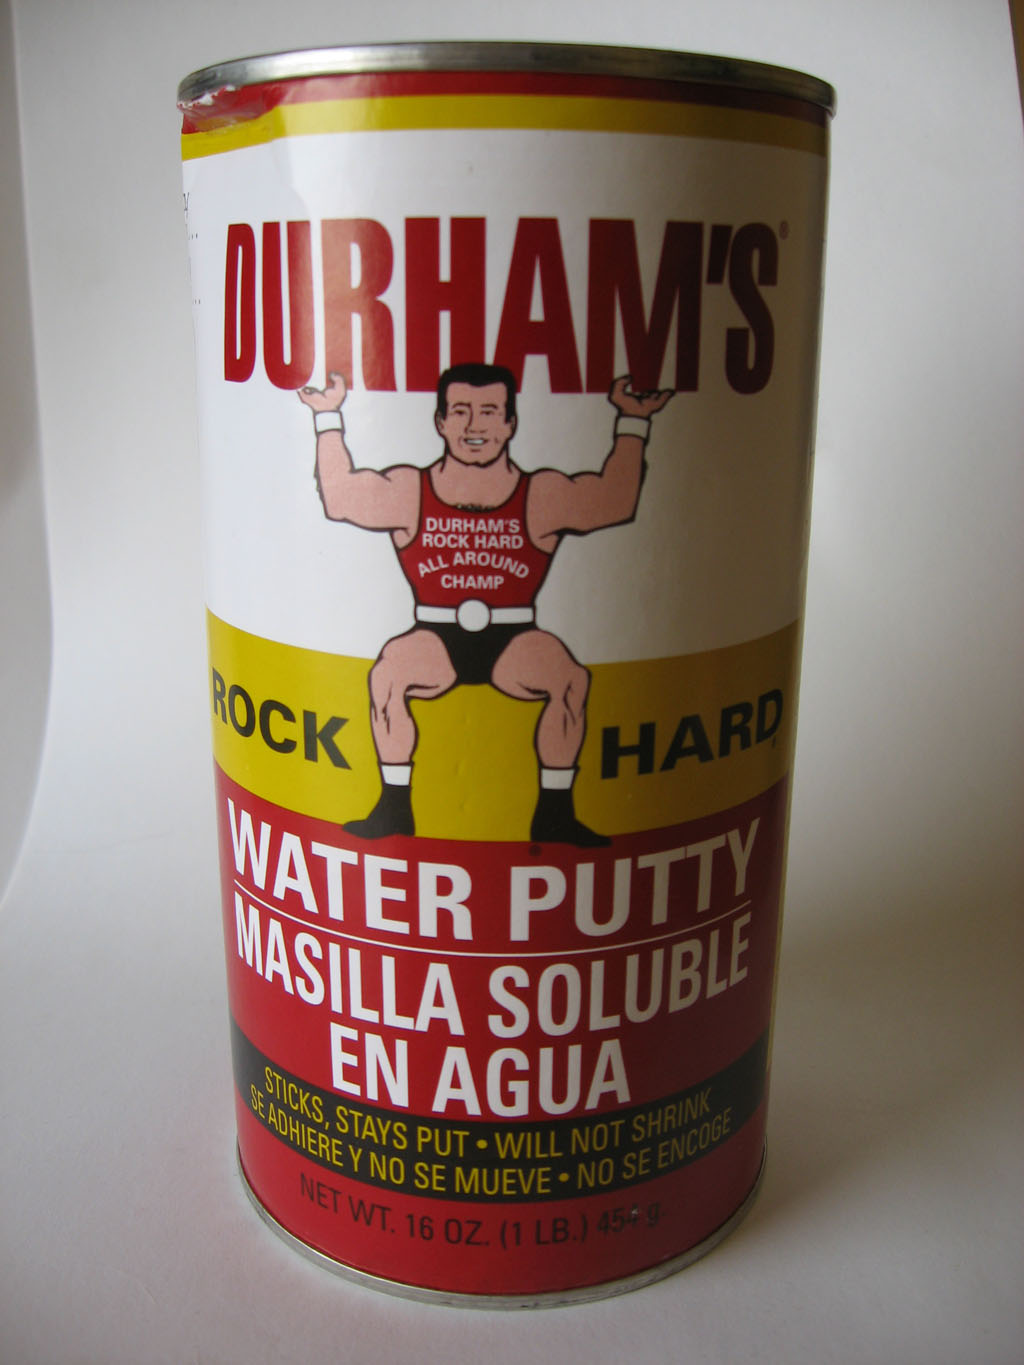
Durham's Water Putty
Normally, once the glazing points are in place, the glazing putty would be added to seal the window from the weather. However, in our case, there is an additional step. I’m sure I could have done this in a way that would have preserved the window with a bit more care. But frankly, these windows are not in great shape. So this was my “quick fix” to make glazing them work. Now, let me explain what I mean. The outside of the sash, in the bottom right corner, has rotted most of the way through.
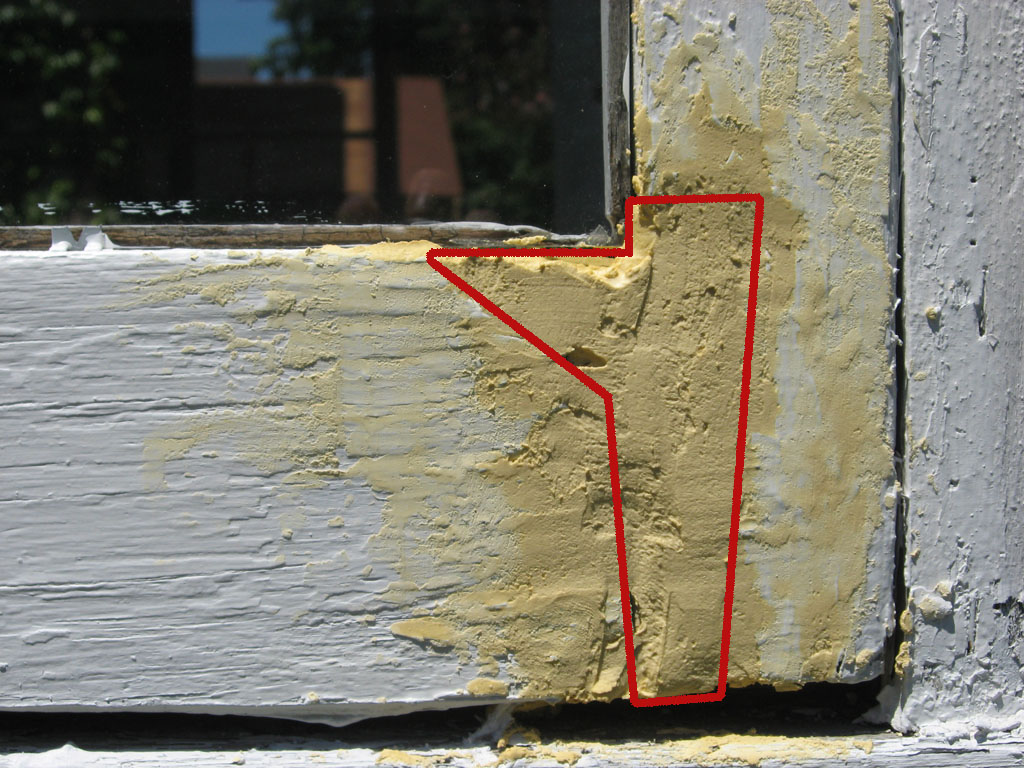
The area in the red was the section of sash that was missing.
There is nothing there to adhere the glaze to in that corner. So rather then leave a corner exposed to more moisture, I decided to fill it with some of Durham’s Water Putty. I had used some of this stuff before when I was doing a kitchen floor repair in an apartment. It’s very easy to use and is, like the package says, rock hard. It seemed a solid choice for filling such a large area. I apologize that I forget to get a before picture of the rotted corner. But I have provided a diagram of how much was missing. It’s doesn’t really help you see how bad it was but at least gives you an idea of how much wood was missing.
The water putty comes as a powder that you mix with a slight amount of water until you have a consistency you like. I wanted it to be a thick paste so it would hold form in the corner. Due to the depth of the missing sash I had to do a thick first coat and a touch-up second coat.
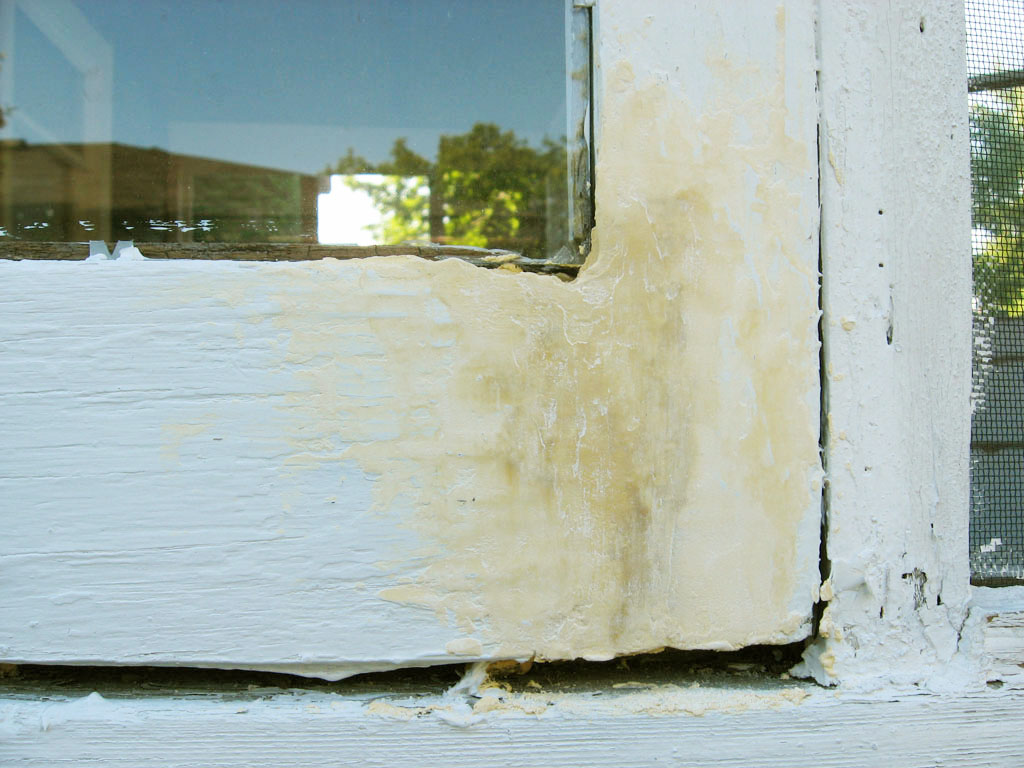
This is after the second coat of water putty and a quick sanding.
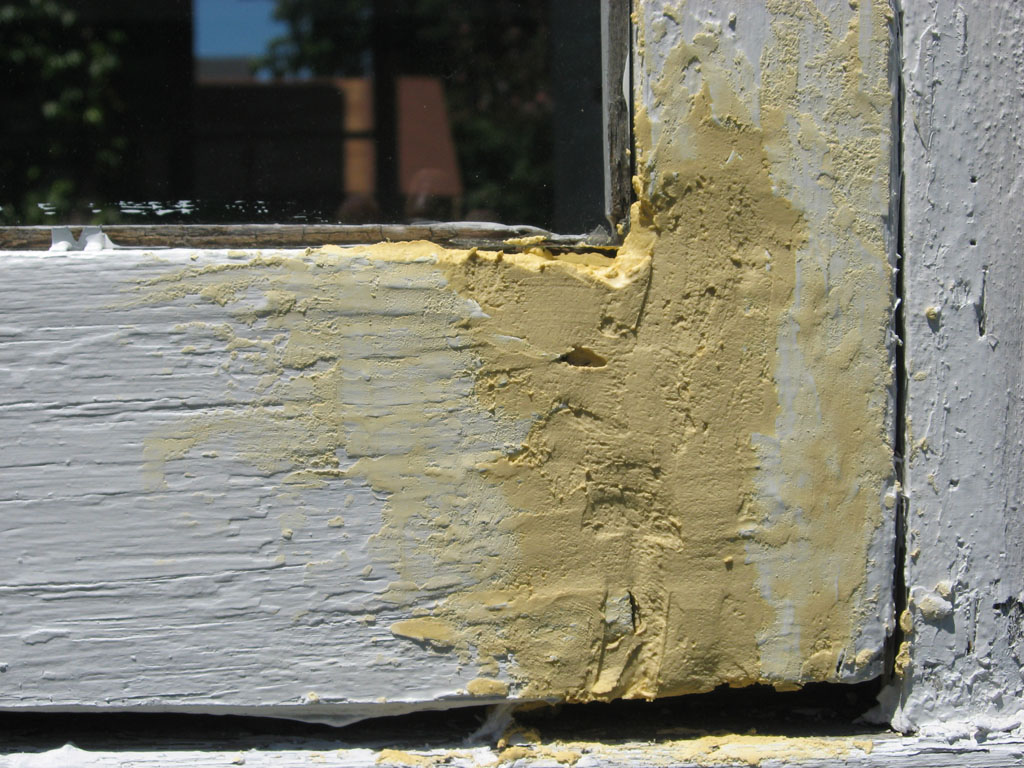
This is after the first coat of water putty. Functional, but not pretty yet.
After that second coat it was looking much better, almost like nothing happened. I’m rather proud of this patch job actually. It turned out much better than I was expecting. Now we’ll have to see how well it holds up over the long term.
Once all the patch work was complete, I moved on to painting it. The water putty needs to be sealed to prevent it from breaking down when in contact with moisture. So a few quick coats of oil-based primer later, it almost looks like nothing was ever wrong.
A day later, the paint is dry and the window is ready for the glazing putty. I used DAP ’33’ Glazing. Its basically just an oily dough like substance that is smeared around the edge window where the glass meets the sash. I used the book Working Windows by Terry Meany for some helpful advice on this part. I had come across this book through a fellow house blogger, StuccoHouse. (StuccoHouse has a great house blog going if you’re interested in house blogs. ) I found tooling the glaze to be a bit difficult, so I likely wasn’t doing something right. However, I now have it glazed and almost completed. All that’s left is giving the glaze a good once over with some paint in a few days. I’m sure it could have been done better, but it is a vast improvement from having no glass there at all just a week ago.
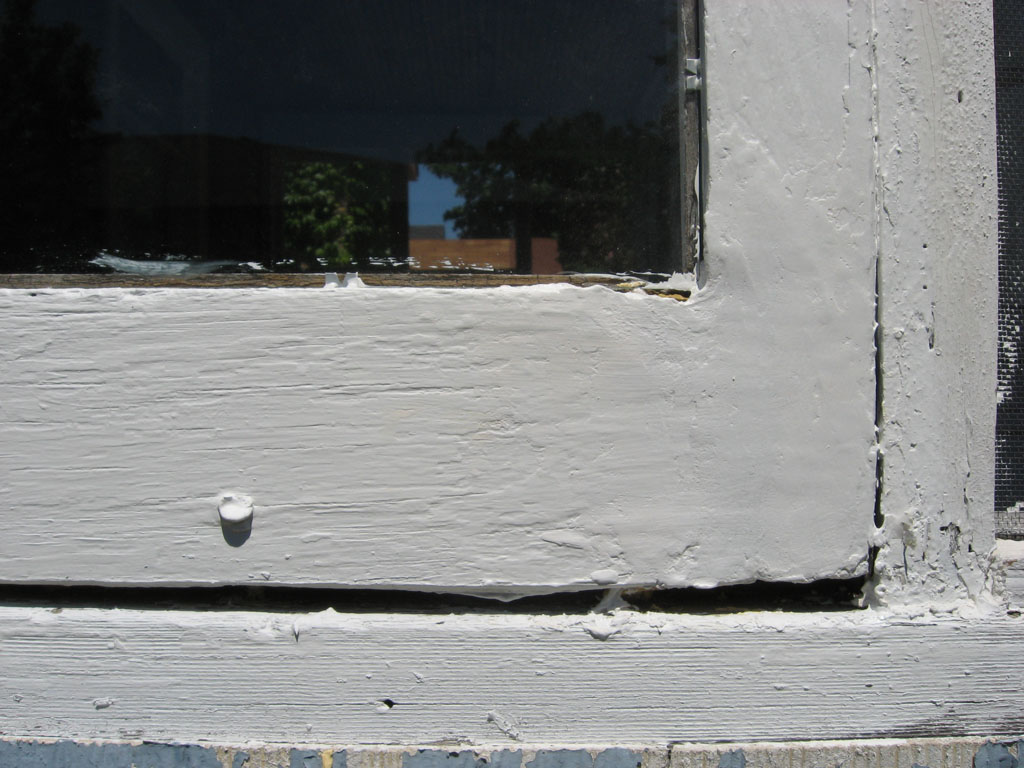
Window after a few coats of paint covering the patch

Here is the window after I added the glaze

The finished product. It looks like window again!
Leave a Reply